Gear & Grills
How to Season a New Grill or Smoker
Learn how to season a grill the right way before your first cook. One burn-in session removes factory residue and sets a protective base layer.
Seasoning a new grill or smoker means running it hot before you cook any food on it. The heat burns off factory oils, curing agents, and any residue left from manufacturing, and it gives metal surfaces a light protective coating that makes cleanup easier and slows rust. Most grills need just one burn-in session before they're ready to use.
Why Seasoning a New Grill Matters
A brand-new grill comes from the factory with protective coatings, machine oils, and sometimes zinc residue on galvanized parts. None of that belongs in your food. Paint on the outside also needs to cure under real heat before it can handle repeated cooking sessions without bubbling or flaking. Interior surfaces, especially on offset and drum smokers, benefit from a thin oil coat baked on during the break-in to give early smoke residue something to cling to.
This isn't the same process as seasoning cast iron, which builds up a significant polymer layer over months of use. A grill's initial burn-in is simpler: you're just getting to a clean, stable baseline. The real "seasoning" on a smoker comes from dozens of cooks worth of fat and smoke depositing on the interior walls over time.
Skipping the burn-in won't wreck your cooker, but the first cook can smell off as factory oils burn away near your food. Some lower-quality painted surfaces also haven't fully cured at the factory, so a proper pre-heat first is worth the hour it takes.
What You Need Before You Start
The supply list is short.
- High smoke-point oil: refined avocado oil, plain vegetable oil, or solid Crisco all work. Skip extra-virgin olive oil, which smokes out at around 375°F (190°C) and doesn't polymerize cleanly on metal surfaces.
- Paper towels or a lint-free cloth: for wiping grates and interior walls.
- Long tongs or heat-resistant gloves: you'll be handling oiled grates at moderate temperatures.
- A reliable thermometer: helpful for confirming the cooker is actually hitting target temps, especially on offset smokers where the built-in dial can read 50-75°F (28-42°C) off from actual cooking chamber temperature. See our picks for the best meat thermometer for grilling if you need one.
No specialty products are needed. Anyone selling you a "grill seasoning kit" is selling you vegetable oil with better packaging.
How to Season a Gas Grill
Gas grills are the most straightforward to break in. Most manufacturers call for a high-heat burn before the first cook, and the process takes about an hour.
Step 1: Remove All Packaging
Pull out any plastic shipping clips, cardboard inserts, foam pads, and zip ties inside the cooking chamber. Check the burner tubes for any paper or plastic that got tucked in during packing. Some grates arrive with a light coat of machine oil that will smoke off in the next step.
Step 2: Run It at Maximum Temperature
Open the lid, connect the gas, and light all burners. Turn them to high, close the lid, and let the grill run at full temperature, usually 500-600°F (260-315°C), for 20-30 minutes. Expect some smoke and an off smell during the first 10-15 minutes. That's the factory residue burning off. Keep the lid closed and let it do its thing.
Step 3: Cool Slightly, Then Oil the Grates
Let the grill cool to around 200-250°F (93-121°C). Using tongs, wipe the grates with a paper towel that has a thin coat of oil on it. Thin is the key word: a dripping, soaking-wet towel leaves excess oil that pools and turns gummy. You want just enough to leave a light sheen.
With the oiled grates in place, bring the grill back to 350-400°F (175-205°C) and run it for another 30 minutes with the lid closed. This bakes that oil coat onto the grate surface. Let it cool, and the grill is ready for its first cook.
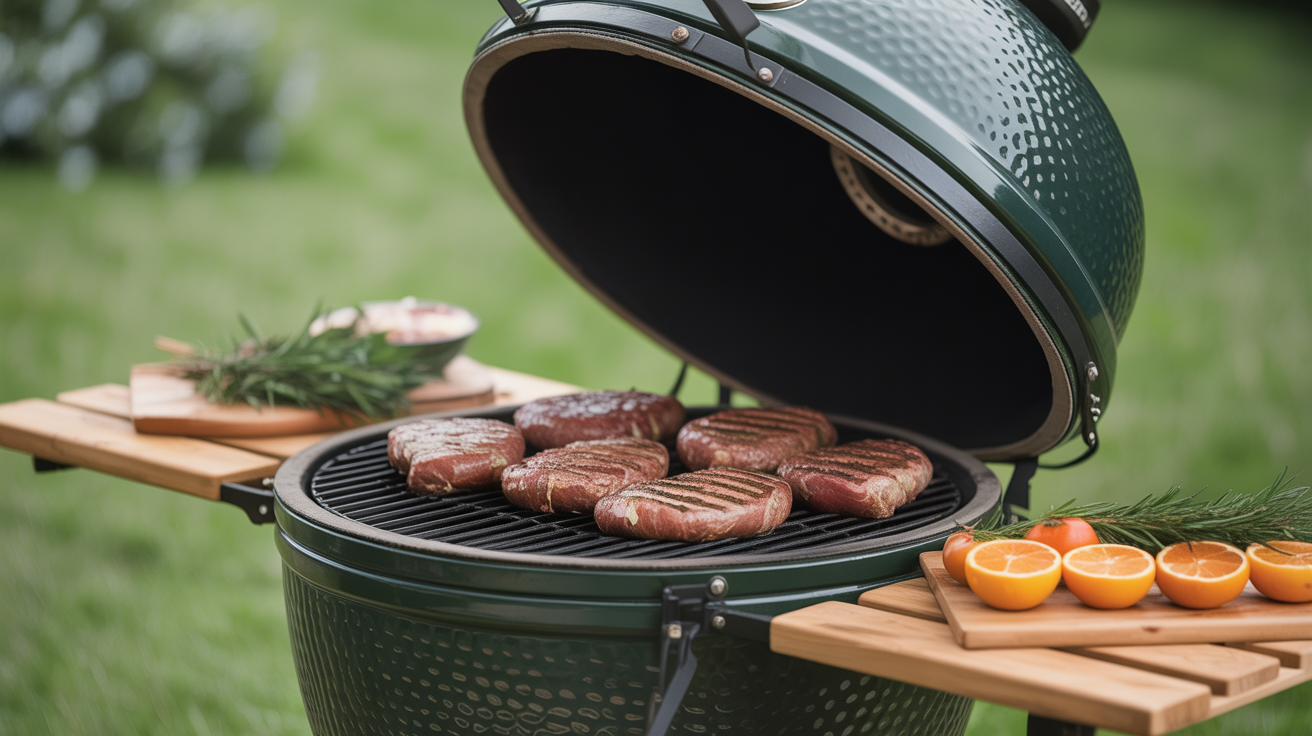
How to Season a Charcoal Grill or Kamado
The process mirrors the gas grill method, with a charcoal fire doing the work. The type of cooker changes some details, since a thick ceramic kamado holds heat very differently than a thin steel kettle.
Standard Charcoal Kettle
Fill a chimney starter with charcoal and let it fully light. Dump it into the grill, arrange for a hot fire, and run the grill at 450-500°F (230-260°C) for 30 minutes with the lid on and the vents open. Then let it cool to 200-250°F (93-121°C), oil the grates, and run it at around 350°F (175°C) for another 20 minutes. Done.
Ceramic Kamado
Kamado manufacturers typically recommend a more gradual break-in to cure the gasket and let the ceramic acclimate to heat without stressing it. A common approach: run a small fire at around 200°F (93°C) for 30 minutes, bump it to 350°F (175°C) for 30 minutes, then 400°F (205°C) for 30 minutes. Keep the lid opening and temperature swings minimal during those first few sessions. Oil the grates at the end the same way as any other cooker.
If you're still comparing cooker types before settling on one, a full rundown of kamado, offset, and kettle smokers covers the trade-offs in detail.
How to Season a Smoker
Offset smokers, drum smokers, and pellet grills all benefit from a burn-in, but the specifics differ a bit from a basic charcoal grill.
Offset Smokers
Build a moderately hot fire in the firebox and bring the cooking chamber up to 250-275°F (120-135°C). Some people spray the interior walls with vegetable oil before lighting, which helps the first round of smoke residue adhere. Let it run for 2-3 hours. The interior will darken considerably, going from bare steel or a light coating to a deeper, matte brown-black. That darkening is exactly what you want. It's the beginning of the seasoning layer that will protect the metal and contribute to the flavor of everything you cook in it.
Offset smokers also have notoriously inaccurate built-in thermometers, so use a separate probe to verify your actual cooking chamber temperature during this process.
Pellet Grills
Most pellet grill manufacturers include a break-in sequence in the manual. Load the hopper with pellets, run the startup cycle to prime the auger, then set the grill to its maximum temperature and let it run for 45-60 minutes. This burns the paint off the heat diffuser and firepot area and cures the interior. After it cools to around 250°F (120°C), wipe the grates with a thin coat of oil and run it one more time at 350°F (175°C) for 20 minutes.
If you're in the market and haven't decided on a model, how to choose a pellet grill walks through the features that matter versus the ones that are mostly marketing.
Drum Smokers
New purpose-built drum smokers from reputable fabricators typically come cleaned and ready, but still benefit from a thorough high-temp burn at 300-325°F (150-163°C) for two hours with the vents open. If you're building your own from a food-grade barrel, plan on multiple high-heat burns with the barrel empty before you consider it food-ready, since even food-grade steel barrels have residues worth burning out first.
Mistakes That Are Easy to Make
Applying too much oil. A thin wipe is enough. Too much oil creates a sticky surface that collects debris and is actually harder to maintain over time. If the grates feel tacky after the burn-in, you used too much.
Oiling the grates when they're too hot. If the surface is above 300°F (150°C) when you apply oil, it just burns off immediately rather than polymerizing. Let the temperature drop first.
Skipping the grates on a smoker. Many people focus on the interior walls during a smoker break-in and forget the cooking grates entirely. They need the same treatment.
Ignoring propane connections. Before the first high-heat run on any gas grill, check all connections with soapy water. Bubbles mean a leak. It takes two minutes and is worth doing every time the tank has been disconnected and reconnected.
Closing the lid on a charcoal grill before it's ready. If you close the lid on a charcoal grill while the coals are still getting established, you can snuff the fire. Get the charcoal fully lit and ashed over before closing.
Frequently Asked Questions
Do I actually have to season a brand-new grill before cooking on it?
It's not mandatory, but it's worth doing. The first cook on an unseasoned grill may have an off smell from factory coatings burning near your food. On budget grills with thinner paint, you can also get paint bubbling or flaking on the first heat-up. One burn-in session takes less than an hour and avoids both issues.
Can I season a grill with cooking spray?
You can, but it's not ideal. Most cooking sprays contain propellants and additives that can leave a gummy residue over time, especially at higher temperatures. A plain refined oil (vegetable, avocado, or similar) wiped on with a paper towel is cleaner and works just as well.
How often do I need to re-season my grill?
The initial burn-in is a one-time process. After that, a quick wipe of oiled paper towel on the hot grates after each cook keeps them in good shape. If the grill has sat outside unused through a wet season and shows surface rust, a more thorough cleaning followed by an oiling and heat session can restore it.
My grill produced a lot of smoke during the break-in. Is that normal?
Yes. The first 15-20 minutes of the burn-in typically produce the most smoke as factory oils and coatings burn off. Keep the lid closed so the heat does its job and let the smoke dissipate on its own. If the smoke continues heavily after 30 minutes, check that there's nothing left inside the cooking chamber that shouldn't be there.
Does a freshly seasoned smoker affect the taste of the first cook?
The first cook on a newly seasoned smoker will taste noticeably clean compared to the same cook on a well-used pit. That's not a bad thing, but it's worth knowing. The flavor profile that comes from a well-seasoned smoker builds over many cooks as fat and smoke accumulate on the interior walls. Some competition cooks specifically seek out heavily used cookers for that reason.